
There is much I was not doing right when I was a newbie in laser engraving. And I believe there are engravers out there who are like the way I was. One of the things I didn’t know was how to save time laser-cutting multiple objects. I used to spend a lot of time before learning the trick I am going to share. And in engraving, time matters a lot.
How was I doing it?
Let me demonstrate it with an example. For instance, when I was cutting several rectangular shapes from wood sheets to make key chains, I used to draw them separately in CorelDraw, as shown in Image 1 below. After designing them, I would send the job to the laser machine to cut the shapes.

Image 1: Cutting Several Rectangular Shapes
Cutting shapes one by one, as shown in the image above, wastes a lot of time. If you do it that way, you spend more time on any job. Secondly, you increase the cost of doing the job because you use more electricity. Thirdly, because you use more time and electricity, you are forced to charge more to your customers to cover the cost of doing the job.
How Do You Save Time Laser-cutting Multiple Objects?
To save time laser-cutting multiple objects, you put them together when preparing for your job, as in Image 2 below.
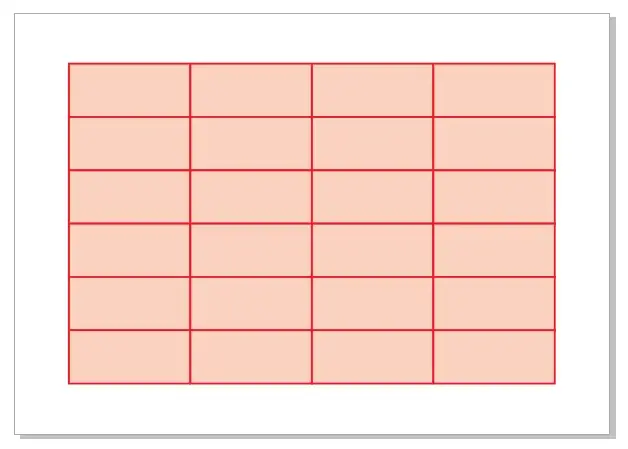
Image 2: Rectangle Shapes Joined Together
But when you put them one against each other, the lines overlap. And when they overlap, they look like you have one single line. But in the real sense, the computer sees two lines where they overlap. If you leave it like that, your cutting time will not reduce because your lines will get cut twice where they overlap. The cutting time will remain the same as in Image 1. So what do you do?
The solution is to remove the overlapping lines and remain with one cutting line. Let me share with you how I do it in CorelDraw. And I believe the same trick is possible even in other graphics software programs.

Image 3: Big Rectangle With Overlapping Lines Removed
Merge the small rectangular shapes into one big rectangle using the welding tool as in Image 3 above. Then after welding each square onto the other to make one big shape, draw lines with a Freehand tool vertically and horizontally following the shape nodes (see Image 4 below). That’s it. You’re now done with your job, ready to send to your laser. And that’s how you save time laser-cutting multiple objects.

Image 4: Lines Drawn Following the Nodes
Now, the laser will cut the material following the inner vertical and horizontal lines of the big rectangle instead of cutting each shape separately. If you do it this way, you save time by about 50%.
Conclusion
Learning to save time laser-cutting multiple objects has several advantages. Apart from reducing your job running time short, it helps you reduce the job costs and increase your efficiency and productivity. If you do it, you even make more money.
Do you have any questions and time-saving techniques you would like to share with us? We shall be grateful if you share it with us in the comment section below.


0 Comments